Wow, it has been very very dry in the garden for early June. The last time I have seen it this dry in Central Indiana for so early in the growing season was the drought year of 2012. Lets hope it is not a repeat of that year. Needless to say I have been busy in the garden watering. So far, the garden is still growing pretty well despite the dry conditions.
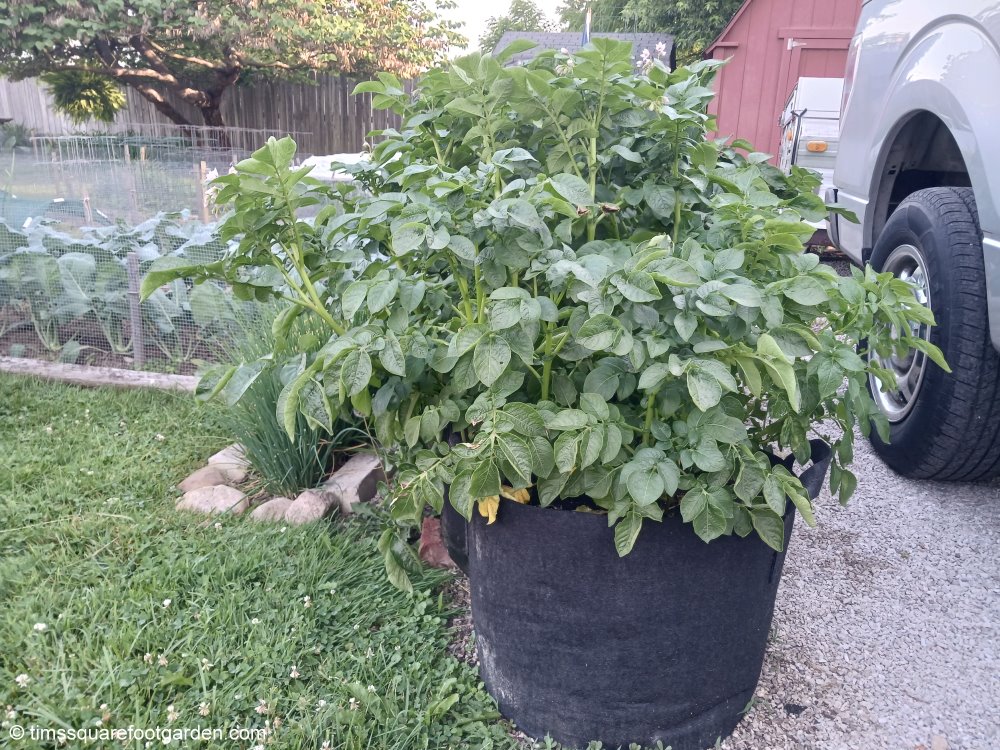
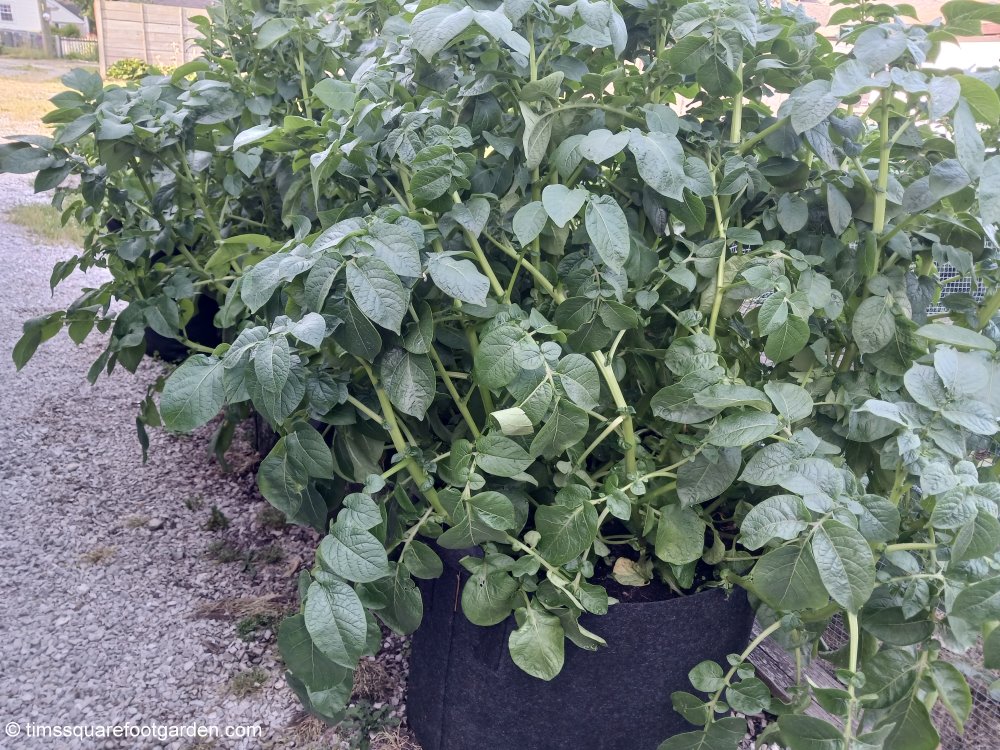
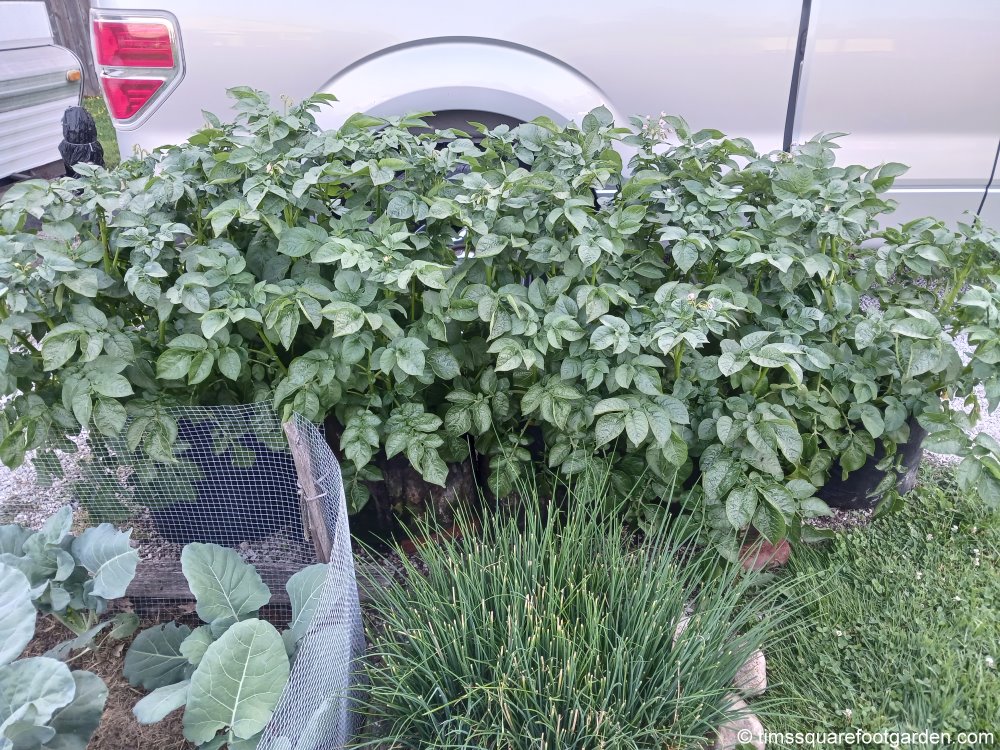
I have mentioned in past posts that I grow potatoes in grow bags, so I wanted to pass on some additional information about how I do this. I grow Red Norland potatoes (70 to 90 day maturity) in 15 gallon grow bags. Most grow bags that are sold are biodegradable, but will last several years, depending on quality of the bags. The cheaper ones will only last one or two years, but I have purchased ones that should last four to five years. If your garden space is limited, then you should give some of these grow bags a try. I currently have five grow bags situated over the back gravel parking area near one of my garden beds (see pictures below). Potatoes seem to grow well in these bags with only one major drawback. They dry out really fast and need to be watered quite a bit, especially when the weather turns sunny and hot. I have found that each 15 gallon grow bag needs about three gallons of water every other day, especially when the potatoes are actively growing, unless it rains. Of course, the bags will not need that much water when the potatoes are first planted in the spring.
Here are a few tips for growing potatoes in these grow bags: Grow only early to mid season maturity potatoes, so the harvest is over before the heat of mid to late summer arrives, as this will cut back on the amount of watering that is needed. I would also recommend that you plant out multiple grow bags and that you try to place your bags close together as this will help to keep your soil moisture loss to a minimum. I like planting four seed potatoes in each bag at about 6 inches of depth.
As far as filling the bags for the first time, I recommend about 1/3 peat moss, 1/3 high grade top soil, and 1/3 compost (commercially bagged compost is okay to use). Do not cut corners on the soil for your bags. If you are careful, you will only need to buy these amendments once and then reuse the same soil over many years. Do not fill bags to the very top with soil, but leave about 2 inches of space below the top of the bag as this will allow space for the water to soak into the bags and not runoff. Also, make sure to level the bags so the water will not run over the top of the bags to one side of the other as you water the bags.
For harvesting (after the vines have completely died back which is usually around the second week of July), unlike some gardeners I have seen, I like to dig my potatoes out of the bags, and not dump them out completely, as it it less messy. This does, however, take a little bit more time to harvest this way. After the potatoes are harvested, I keep the bags filled with soil and let them sit empty for the rest of the growing year and into the winter. The next spring, I mix in plenty of compost into the bags and then plant my potatoes in the bags, usually by mid April (in my USDA Zone 6a). I also put about 1/4 cup of organic fertilizer in the planting hole with the potato. BTW, if you have never tasted a home grown potato before, then you are missing out, as they are far far superior than any other potatoes that you buy from the grocery store or even a local farm market.
As a reminder, if you are not receiving updates to this blog via email please visit the following link and get signed up, it is free: https://follow.it/tim-s-square-foot-garden-blog?action=followPub